In our homes, our showers are a key part of a daily routine. An upgraded shower can not only improve the overall look of your bathroom, but it can make showers a lot more pleasant, and can also help you reduce water consumption and lower water bills thanks to them operating much more efficiently.
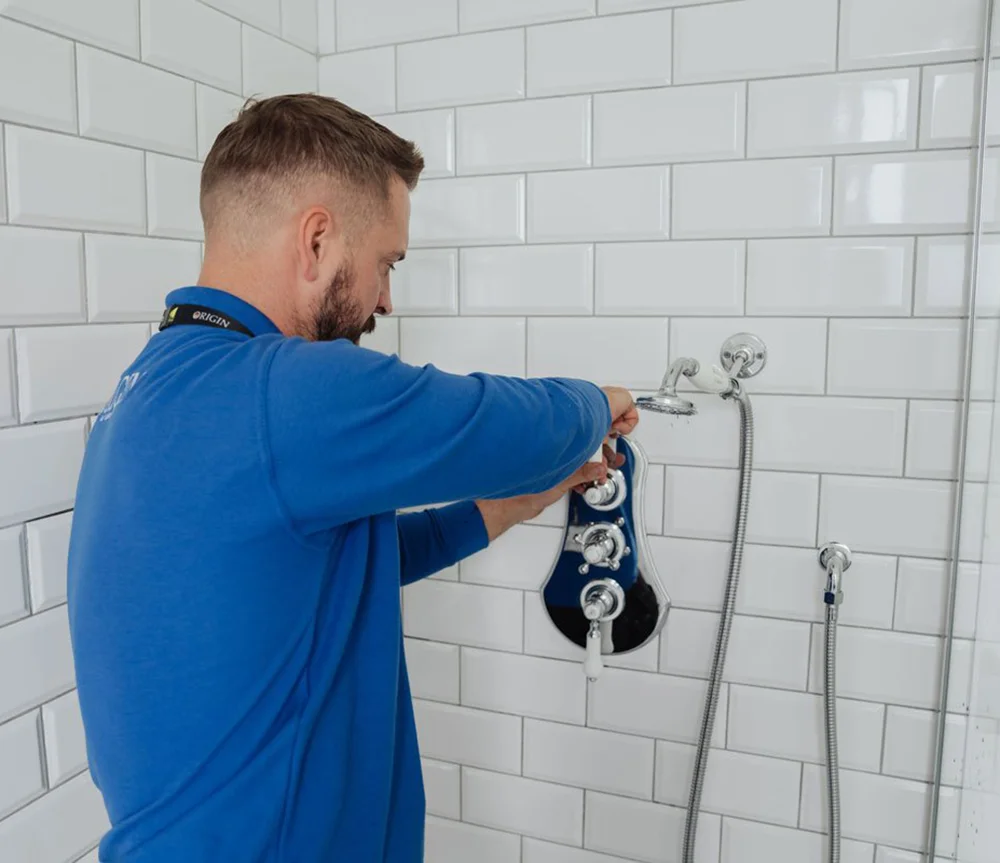
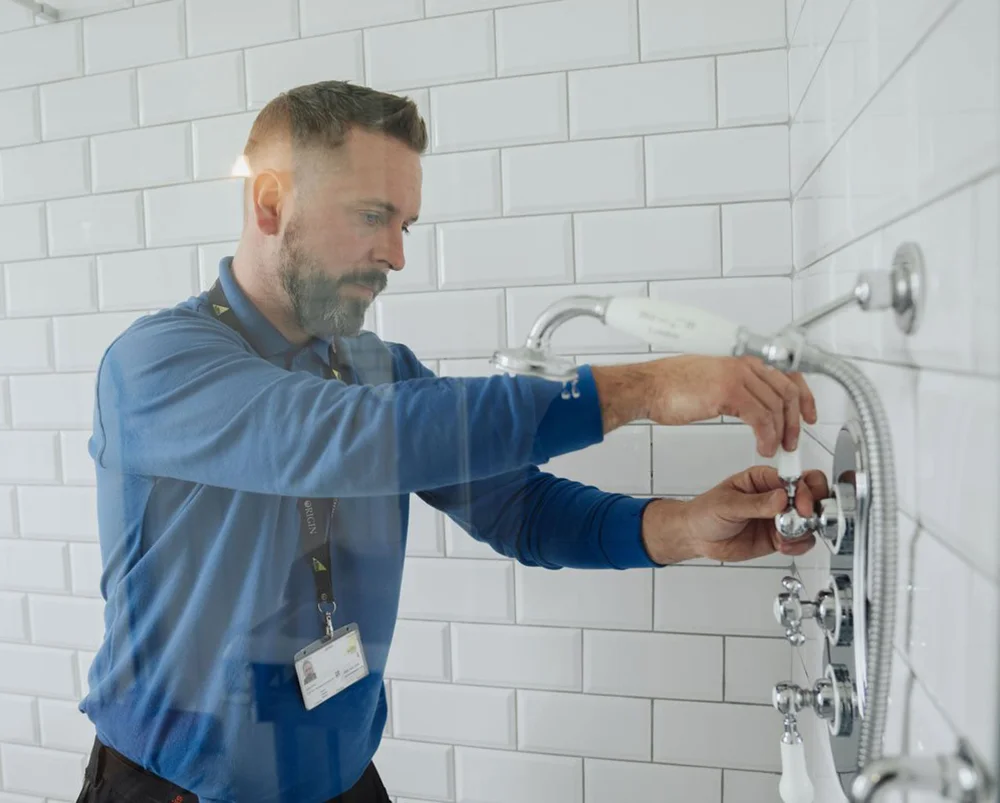
If you have any issues with your current shower fixtures, or would just like to upgrade what you currently have, Origin is here to help. Our team of expert plumbing engineers are not only suited to repairing broken toilets, burst pipes and replacing shower taps, but we’re also able to repair and upgrade the shower fixtures within all Glasgow homes.
Origin features a full range of plumbing, heating, and installation solutions throughout Glasgow. Call us today on 0141 432 0010 for a free quote and special savings!
Experienced Glasgow Plumbers for Shower Upgrades & Installations
If you’re looking for a shower over your bath, a separate cubicle, or the latest hi-tech shower towers – we’re here to help. We’ll be able to provide you with a quick and simple quote based on what you want, with our rates being extremely competitive and our work being of the highest quality.
We can schedule the work to be completed at your convenience and your dream bathroom will be a step closer. NHS workers get a 20% discount on all our work. If you work for the NHS, remember to let us know so we can apply your special offer to our quote.
Get in touch with us today for a quote on repairing or replacing your showers/taps!
A broken tap can be an enormous inconvenience, especially if it’s continuously leaking/dripping. This is a massive waste of water, which will lead to increases in utility bills, as well as a huge headache. It’s important to ensure that this is treated as a plumbing emergency, and is dealt with immediately by an expert. Any repairs should be done quickly, as it’s likely to get worse if it’s just left to the side.
Our team of expert plumbing engineers can quickly repair a stuck or completely broken tap. All of our engineers carry a wide range of parts and can get a worn-out tap back in full working order straight away.
On top of being able to repair faulty taps, we’re also on hand to install new taps within homes across the Glasgow area. A new set of taps can be a big part of a bathroom refurbishment project, with it being a cost-effective way of giving your bathroom an inexpensive facelift.
If you require an emergency repair, or would just like an upgrade – get in touch with us for any tap repairs or replacements in Glasgow!
Let us deal with all your burst pipe, emergency and regular plumbing needs. Keep our number handy and we promise a fast response and an efficient and cost-effective solution.
Need Advice Now? Check Out Our Remote Survey Service!
At Origin, we can offer you instant quotes using online video calling! Our team members take a look at the problem using a popular video chat program, including Facetime, Whatsapp, or Zoom to evaluate the problem, determine the cause, and then let you know what needs to be done.
This allows us to get you the information you need quicker and more conveniently than ever before! The best part – all video quotes are currently FREE!
shower repair, plumbing, shower replacement near me, shower repair near me, leaking shower, shower door replacement near me, shower repair company, installing a new shower valve, shower valve leaks, bathtub repairs, shower cartridge replacement, plumbing services, shower head, faucet repair, heating, customer service, services, home, plumbing nyc, shower repairs, shower repair shower, shower door replacement, shower door repair near me, shower door repair, moen cartridge, shower grout repair, bathroom fan replacement, shower installation, water heaters, garbage disposal repair, shower, electrician, bathroom, leak, accessibility, renovation, lanarkshire, customer, pump, email address, pressure, telephone, home improvement, lighting, pipe, pride, telephone number, dunbartonshire, design service, installation, bathroom fitter, replacement, water pressure, dream bathroom, mira, luxury bathroom, bathroom renovation, walk in showers, drain, sink, bathtub, water heating, water damage, valve, hvac, shower repair services, bathroom plumbing, shower repair companies, leaking shower repair, bathroom shower repair, shower drain repair, shower drain leak repair, shower handle repair, basement, floor, warranty, new york city, zip code, leak detection, dishwasher, drywall, emergency, fiberglass, tile, policy, sump pump, water filter, handyman, concrete, ceiling, price, pest control, construction, carpet, interior design, repair services, tankless water heater, installation cost, bathtub services, keeping, water heater, shower head replacement, glass shower door repair
shower repair, shower repairs, shower installation glasgow, shower fix, shower repair glasgow, glasgow shower, shower repair near me, shower and sink repair glasgow, bathroom taps glasgow, shower plumbing service, electric shower installation glasgow, electric shower replacement glasgow
Common Shower Problems and Solutions
Shower fixtures can encounter a variety of issues, ranging from leaks to inconsistent water pressure. Understanding these common problems can help homeowners address them quickly and effectively. For instance, a dripping shower faucet often indicates a worn washer or O-ring, while low water pressure might result from a clogged showerhead or plumbing issues.
To resolve these issues, homeowners can perform simple checks, such as inspecting the faucet for visible wear or cleaning the aerator to eliminate blockages. However, for persistent problems, contacting a professional plumber ensures a thorough diagnosis and repair, minimising the risk of further damage and costly repairs down the line.
Benefits of Upgrading Your Shower
Upgrading your shower offers numerous benefits, including improved water efficiency, enhanced aesthetics, and increased home value. Modern shower fixtures are designed to provide better water flow while using less water, which can lead to significant savings on utility bills. Additionally, a stylish new shower can transform the look of your bathroom, creating a more inviting space.
Furthermore, upgrading to high-tech options such as digital shower controls or rain showerheads can enhance the overall showering experience. These upgrades not only add luxury to your daily routine but also make your home more appealing to potential buyers, should you decide to sell in the future.
Emergency Plumbing Services
When plumbing emergencies arise, such as burst pipes or severe leaks, immediate action is crucial to prevent extensive damage. Origin offers 24/7 emergency plumbing services to address urgent issues promptly. Our skilled technicians are equipped to handle a variety of emergencies, ensuring that your plumbing problems are resolved swiftly and efficiently.
In addition to quick response times, our emergency services include thorough assessments to identify underlying issues that may have caused the emergency. This proactive approach helps prevent future plumbing problems and provides peace of mind to homeowners, knowing that their plumbing systems are in capable hands.
How to Maintain Your Shower Fixtures
Regular maintenance of shower fixtures is essential to ensure their longevity and optimal performance. Simple tasks such as cleaning showerheads, checking for leaks, and inspecting seals can prevent minor issues from escalating into major repairs. Homeowners should also consider descaling showerheads periodically to remove mineral buildup that can affect water flow.
Additionally, maintaining proper water pressure and temperature settings can enhance the user experience while prolonging the life of the fixtures. By following these maintenance tips, homeowners can enjoy a fully functional and efficient shower, reducing the likelihood of costly repairs and ensuring a pleasant bathing experience.